Tuesday, March 8, 2022

Lensbaby's New Soft Focus II Optic

 Just this morning, Lensbaby announced the newest addition to their lens line up, the Soft Focus II optic!

This is a new and updated version of the Soft Focus optic which is one that I have always loved, and still used from time to time. This new optic produces the same beautiful, soft and dreamy look overlaying subtle sharp detail. When using the original version, aperture was controlled by dropping rubber aperture disks into the lens opening. This new version has a 12-blade manually adjustable internal aperture which you adjust right on the top of the optic, as you can with the Sweet and Edge optics. 


When you stop down to f/8 or smaller apertures, the Soft Focus II can create images with wonderful detail and sharpness in the center of the image with out of focus edges. I love the versatility of different looks I can get with the same optic by varying my aperture.


It also comes with a set of 4 magnetic drop-in aperture disks. Three of these disks are multi-holed, which combines the soft focus glow and sharpness differently for an even more custom look, especially evident when you have highlights in the background of a scene, not so much with a plain background. The 4th disk is a sunburst design, which can change the shape of any out of focus highlights in the background, again, customized with your aperture selection.


The minimum focus distance of this 50mm optic is 15 inches, so I will be using macro filters to get closer for my flower portraits. If you have extension tubes, those will work too. The optic will work in any Composer that is part of the Optic Swap system, Lensbaby does not recommend tilting. You can alternatively purchase the optic with a non-bending holder. 


Here is a video I made with some images I created while beta-testing this optic.
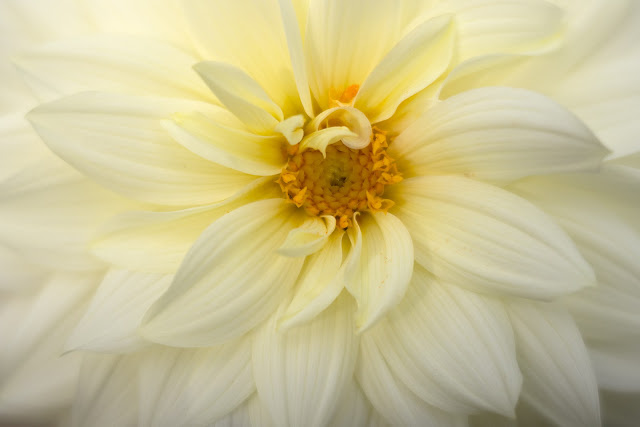
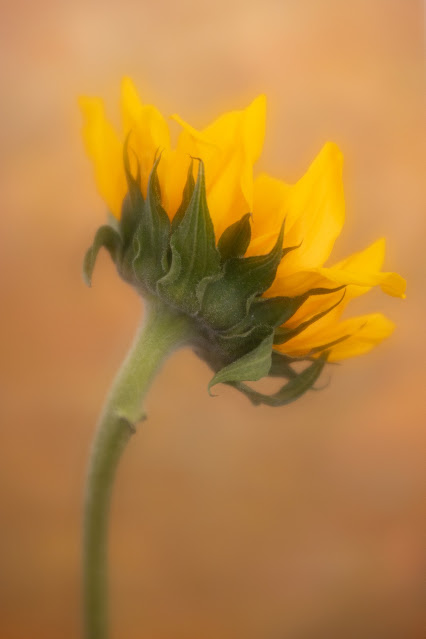
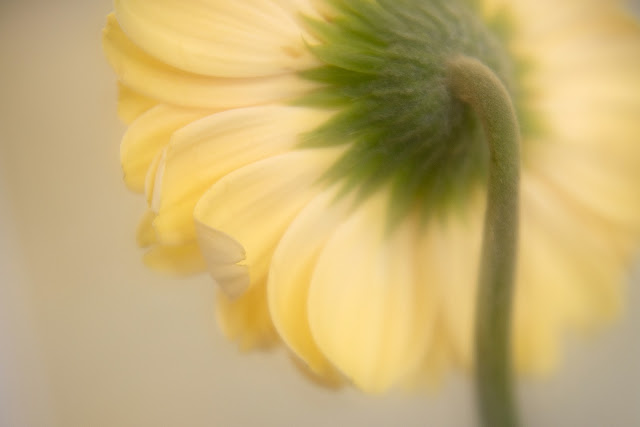
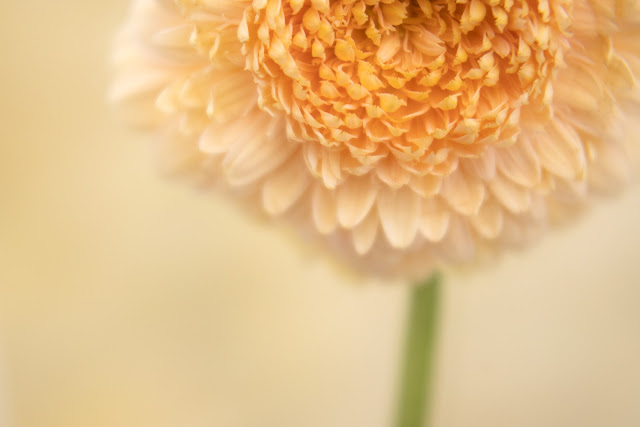
 I included a couple of images of the same subject at different apertures so you can see the different looks.


I think this optic is a great upgrade to the original Soft Focus optic, and it’s one I know I will use often for flowers and portraits.

Happy Shooting,

Kathleen


Sunday, January 10, 2021

Gratitude


Last week, when I invited people to share something they are grateful for I had no idea what type of responses I would receive. Almost 200 people e-mailed me with stories of things they are grateful for. There were stories of hardship and sad events to overcome, but people also shared overwhelming gratitude for their health, friends and family with hope for the future. Some e-mails made me cry, some made me laugh, but each touched my heart. This was one of the most powerful things I have ever done, and I thank you so much for sharing your stories with me. I will be responding to each e-mail I received.

Trying to choose one winner is impossible and I truly wish I could send you each a print. Instead of giving just one away I ordered four more, so there will be five people receiving prints. I will be e-mailing the winners individually.

Also wanted to let you know that sign ups are now available for the February session of my online Flower Portraits class at Gather Academy. Registration for the February Sequel class will open soon.

I wish you all a very Happy New Year and I thank you for your friendship and support over the years. Let’s make 2021 a year to remember. Stay healthy and grateful.

Best,

Kathleen


Tuesday, January 5, 2021

Happy New Year!

                           Happy New Year!


I have so much to tell you! 2020 was a rough year for all of us, I hope things greatly improve in 2021 and that I will be able to start teaching in person again. In the meantime, I will still be teaching online classes throughout the year. My February class at the Santa Fe Workshops is full, but a few spaces remain in the March session.


 I will also be back to teaching my classes at Gather Academy beginning February 1st. The school has moved to a new format which is easier to navigate and absolutely beautiful. I am really excited about the changes. Sign ups for my February 1st Flower Portraits class will begin this week. 


If you need something to keep you inspired to create photos in this new year, check out Gather Academy's 365 Community Project, I have joined and am finding inspiration every day!


I am also planning to make a monthly Photography Tip video, sharing new techniques and images and the stories behind some new photos. I will share them on my Facebook page and Blog.


Lensbaby has been releasing the instructional video I made for them the at Swan Island Dahlias in 2019 as individual lens section videos, here are the YouTube links:

Session 1: The Velvets

Session 2: Twist 60

Session 3: Sweet 50


My birthday is this week, and I have two ways for you to celebrate with me!  The first is a print give away! I will be giving away an 11x14 canvas print of this image:


To enter, just e-mail me and share something that you are grateful for. 2020 has left us all stressed, but I truly believe there is always something to be thankful for. I’ll announce a winner on January 10th.

I also want to celebrate by offering you a 50% off discount code on everything in my Texture Store. You can use the code “birthday” until midnight, January 7th.

Take care, stay healthy!

Kathleen

Tuesday, April 21, 2020

A New Lensbaby Velvet!


Many of you know that the Lensbaby Velvet 56 and Velvet 85 are two of my favorite lenses. I am happy to announce that Lensbaby has added a sibling to the family, the Velvet 28! This lens is 28mm, and the minimum focus distance is about 2 inches!


The lens provides a soft glow overlaid on a sharp background, this glow lessens as you stop down in aperture. With 12 blades, the bokeh is nice and round and it's wonderful! I started beta testing this lens this winter and had fun seeing what I could do with it.


My favorite thing about this version of Velvet is that I can go from shooting a soft, floral macro subject to a landscape with tack sharp detail at 28mm without changing lenses.


I also had fun shooting some subjects both soft and dreamy and also sharp and detailed, it's great to have choices!


I am really looking forward to trying the Velvet 28 with large flowers like Dahlias this summer, this lens definitely has a space in my camera bag.

Happy Shooting!
Kathleen

Tuesday, January 14, 2020

New Class and T-shirt!


Hi everyone,

Today Lensbaby will be launching two new Kathleen Clemons items. The first is a class I filmed for them last September at Swan Island Dahlias in Oregon.  You can see me teach a group of photographers the best practices for photographing flowers, and how to use five different Lensbaby lenses. The class is $30 but comes with a $30 credit for a future purchase, so if you are thinking of adding a Lensbaby item, the class is like a free bonus. Click here for the class.

The other news is that to go along with this class launch, I designed a new limited edition Lensbaby T-shirt from one of my flower drawings (see design above). So excited about this! You can find the shirt here

I am also taking over Lensbaby’s Instagram today (January 14th) and will be sharing tips on shooting flowers indoors, their Instagram page is @seeinanewway.

Happy Shooting!
Kathleen

Thursday, October 24, 2019

New Lensbaby Omni Color Expansion Pack Magic!


      Last June I posted information about the new Lensbaby Omni system for shooting through, a fun tool set for making photos in a new and creative way. Today Lensbaby announced a new pack for the Omni system, the Omni Color Expansion Pack, and I have been lucky enough to be shooting with it for the last month. This pack contains a set of reflective colored film strips that allow you to add color and light to your subjects, some strips are textured and some are plain. I have been having a blast shooting with these and have definitely found the magic of Lensbaby once again!

     I spent some time shooting in my gardens, but the real magic happened for me when I shot raindrops on some leaves after a heavy rain, when I saw this image through my viewfinder I could barely breathe!


     Here is a shot of my set up with the Omni color film on my Velvet 85 as well as the actual subject, you can see why the image on the back of my camera showed me the magic of using these:


  I can change the color or temperature of the light across the entire frame, or add color to a particular area of my composition. Adding color allows me to lessen possible distractions, to simplify or add interest to my subjects.

     I have too many favorites to post them all here so I made a short video for you, all images were created with this new pack and my Lensbaby Velvet 85, so much fun and I love the effect!


Happy Shooting!
Kathleen


Tuesday, July 30, 2019

New Education Website


Hello there!

I just finished building a website for all of my education resources, kathleenclemonseducation.com. Now you can find links for my classes, workshops, books and videos all in one place. More content will be coming. You can find it here.

I also wanted to tell you about a new class I am writing this summer, Flower Portraits: Capturing the True Beauty of Flowers will start in November at Gather Academy. I am having a blast shooting, filming and writing lessons for the class.

This class will be a celebration of everything I have learned and taught about flower photography over the last 13 years. There will be new content, images and videos, and in each lesson you will get the behind the scenes story of one of my photos. I'll take you through my process from the location to the final image. I'll also be including post-processing lessons for flower photography for the first time. Weekly assignment critiques will be delivered via videos. I am really excited about this new class, I hope you'll join me!

I also want to tell you that I will no longer be teaching online classes at the Bryan Peterson School of Photography. If you are interested in one of the classes I taught there, please contact me directly and I will arrange a private session for you.

My best,
Kathleen

Friday, June 28, 2019

Omni Bonding


Last week Lensbaby introduced the Omni System, an incredibly creative way to shoot through objects placed in front of your lens. Now, instead of holding the object yourself, you can easily move, change angles, combine and switch objects out quickly and easily with any lens. Check out the above link for more info and details on what is included with this system.

Whenever I am testing a new product, it takes me a little time to figure out what it can bring to the kind of work I do. Though I have been amazed by the portraits taken using the Omni system, I needed to see if I could utilize it with the close up nature photography that I love. I am happy to tell you that I am having a ball with it, bending light and selectively blurring areas of the frame has been lots of fun!

I first tried the Omni system with my 180mm and 24-70mm lenses and made some fun images:


I was especially excited when Lensbaby recently sent me a step up ring so that I could try the system with my Velvet 85, and I spent yesterday morning experimenting with that combination and can tell you that I definitely bonded with it. Painting with light is a blast!

I used several different wands, but my favorite images were with the Stretch Glass and Triangular Prism Effect Wands used together. I kept the Velvet 85 on f/2.8 for all of these photos.


It's always good to push yourself to try something new, the Omni system helped me to create some very unique images and definitely earned a place in my camera bag.

Happy Shooting,
Kathleen

Sunday, February 24, 2019

Frozen Flowers


Over the last few weeks, I have been working on photographing flowers frozen in water. I have tried this before with varying degrees of success but really wanted to devote some time to it this winter. I have found a method that works well for me and am happy to share some tips with you.

First, find a suitable container. Some people choose glass, I tried that as well as metal tins and plastic containers and found no difference. I knew I would not be shooting through the sides of the container, so glass was not a necessity, use what you have. I used some small containers for single large flowers and groups of smaller blossoms, and larger tins for bigger groups of flowers. Even a cut-off milk jug will work.


Collect some flower blossoms and trim the stems to fit the container you have chosen. The beauty of freezing the flowers is that you don't have to use pristine blossoms, I used both fresh and spent flowers and both worked well. I had better results with larger flowers.


Place the flowers in the container and add a little bit of water, you can place them with the blossoms up or stems up, or even sideways. The flowers will float if you add too much water, you really just want enough for the flowers to adhere and stop moving in the beginning, 1/2-1 inch is enough. Once you have added the small amount of water, place the container in the freezer. Here in Maine, I can place the containers outside to freeze when I run out of freezer space.


Check the progress after a few hours and add more water. Don't add too much at once or your slim ice layer will melt with the added water and the flowers will float free, it is better to keep adding frequent small amounts at a time until the flowers are covered with water. Sometimes I like to leave a few petals above the water/ice line for added interest in the photos.


 It is always a surprise to see how the flowers look when frozen, no two look the same! I generally photograph them in the container first, shooting straight down with my lens parallel to the surface of the ice. I place the focus on any petals above the ice, and use an aperture of f/11-f/16. I use natural light, and have made photos with my 180mm, my Lensbaby Velvet 85 and my iPhone.


Once I am happy with the photos I made shooting straight down at the flower, I place the container upside down in a warmer location so that the ice will loosen (you could also run the container under warm water).  I remove the container and check the bottom and all sides of the ice block for interesting effects and make more photos from those angles. Shooting the ice block with backlighting works well too.


It's also interesting to photograph the flowers as the ice forms and/or begins to melt away, here are a couple I left outside overnight:


I found that some flowers turned brown when frozen, and some retained their natural colors. If you are unhappy with the color of the flower in ice, you can always convert to black and white or add a color tint as I did with this one:


I feel like I am only beginning with this technique and look forward to more experimentation and exploration, I have a full pan of red roses almost ready to shoot in my freezer right now so stay tuned.

Happy Shooting!
Kathleen